Voice Widgets
Embeddable browser voice + chat widgets. Bind a published agent to your domains, get a snippet, paste it on your site.
A widget puts one of your agents directly on your website as a floating launcher bubble. Visitors can talk to it by voice, chat with it by text, or both — no phone number needed.
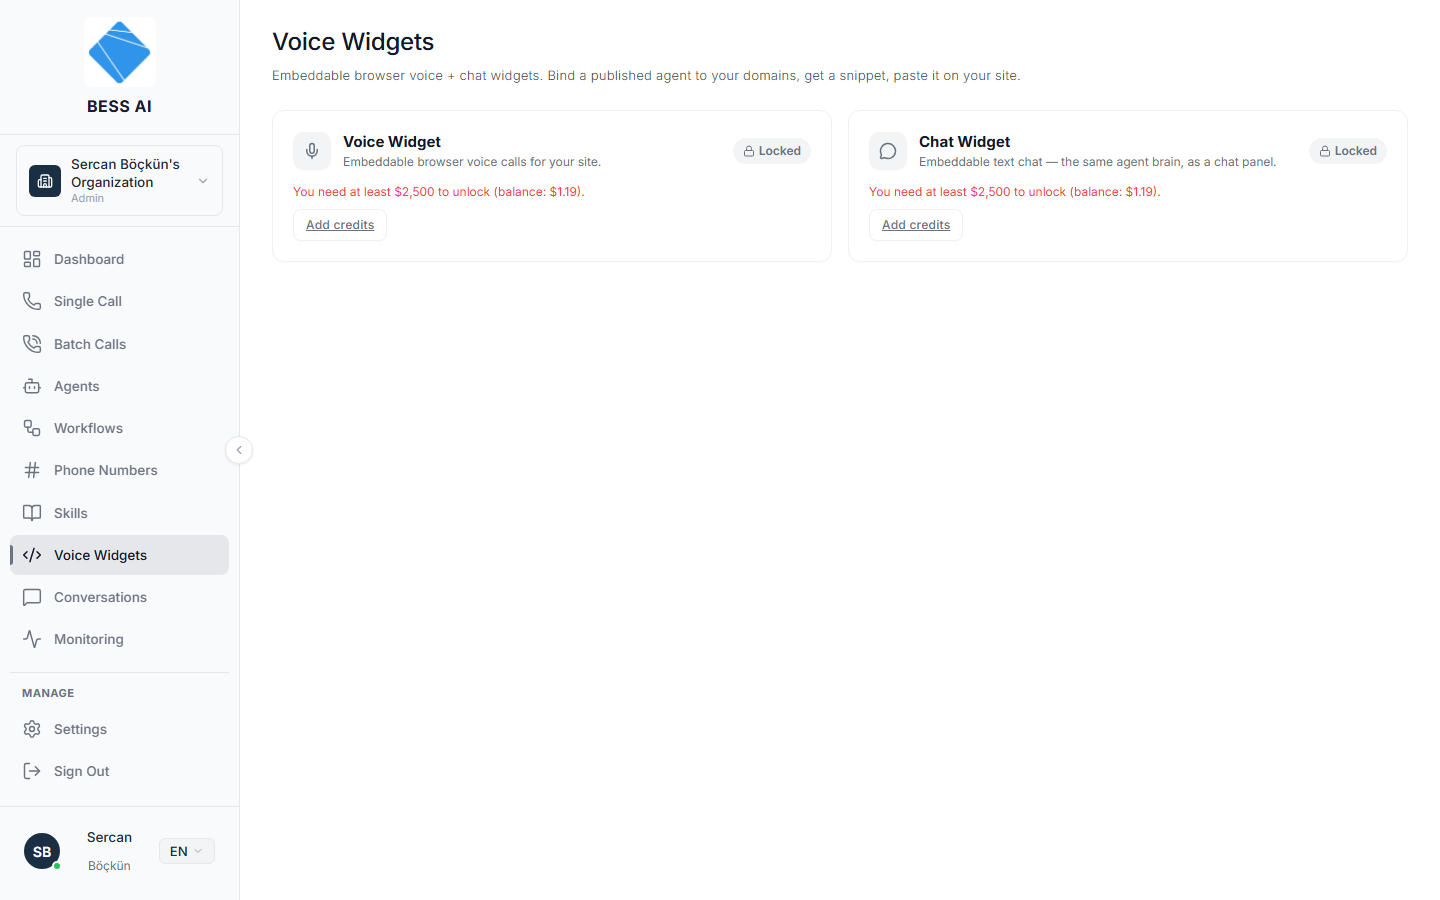
Your widget plan
There is nothing to unlock — every organization can build widgets. At the top of the page, the Widget Plan card shows your current tier, its included monthly quota (AI conversations + voice minutes), and how much of it you have used this period.
- Free — 1 widget, with a small lifetime trial allowance of conversations and voice minutes.
- Growth ($49/month) — 250 conversations + 100 voice minutes per month, up to 3 widgets.
- Scale ($199/month) — 1,000 conversations + 300 voice minutes per month, more widgets, and badge removal.
- Business — custom, talk to sales.
Subscription fees and any usage beyond your included quota are billed from your prepaid credit balance — there is no separate payment method to set up. Beyond the quota (or on the Free tier once the trial allowance is used), widget usage simply continues at pay-as-you-go rates, shown on the plan card. Phone calls are always pay-as-you-go and are not part of the widget quota.
Only organization admins can change or cancel the plan. If a renewal can't be covered by your balance, the widget keeps working — you get a grace period with email reminders, and after that the plan switches to pay-as-you-go until you resubscribe.
The widget table
Every widget you create is listed with its Name, Agent, Mode, Allowed domains, Daily cap, and Status. The actions on each row let you view the embed snippet, enable or disable the widget, edit it, or delete it.
The Active toggle is a kill switch. Disable a widget and it stops working on your site immediately — no code changes needed.
Create a widget
- Click New Widget. The create modal opens with a live launcher preview that updates as you make choices.
- Enter a Name and pick an Agent. Only PUBLISHED agents appear — publish your agent first if it is missing.
- Choose the Widget mode: Voice, Chat, or Hybrid. All modes are available on every plan tier.
- For chat or hybrid widgets, set the maximum messages per session.
- Enter your Allowed domains, one origin per line — for example, your main site and your staging site.
- Set the language, bubble position, and branding: title, subtitle, accent color, label, and pulse.
- Optionally set auto-end seconds, a daily cap, and per-IP rate limits, and choose whether to show the transcript.
- Click Create Widget.
A widget with no allowed domains renders nowhere. The allow-list is how BESS decides which websites may load your widget — leave it empty and the widget simply never appears.
Chat and Hybrid modes require an ORCHESTRATION agent. If you pick a realtime agent, the mode is forced to Voice, and the tooltip explains: "Chat requires an orchestration agent."
On the Scale and Business plans you can also hide the "Powered by BESS AI" badge with the Hide badge option in the branding section.
Install the widget on your site
After you create the widget, the Install screen shows:
- An install verification banner — it starts as "waiting for the first visit" and flips to "widget detected on your domain" automatically the first time any page carrying the snippet loads. If the detected domain isn't in your allowed domains yet, the screen warns you.
- Your publishable key, which starts with
bess_pk_live_. - A single script snippet to paste into your website, with a Rotate key button.
- For hybrid widgets, a "Default surface" choice — pin this embed to Voice or Chat, or leave it on "Let the visitor choose" (Talk / Chat).
- Where is your site? — step-by-step install instructions for WordPress, ikas, IdeaSoft, Ticimax, Shopify, Wix, Google Tag Manager, plain HTML, and React.
- Send to my developer — email the snippet plus the chosen platform's steps to your developer.
- Pick your platform and follow its steps. On WordPress, the official plugin is the recommended path — see Install on WordPress. On Wix, see Install on Wix; on Shopify, see Install on Shopify. On any platform with Google Tag Manager, the GTM recipe works without touching your site's code.
- Open your site — the launcher bubble appears in the corner you chose, and the install screen confirms the detection.
For the full snippet reference — every data-* attribute, plain HTML, single-page apps, and Tag Manager — see Add the Widget to Any Website. And if you want the agent to act on your site (read the visitor's cart, fill forms, trigger your own JavaScript), see Page Tools (Beta).
Rotating the key or deleting the widget kills the old key instantly. Any page still using the old snippet stops working right away — update your site with the new snippet as soon as you rotate.
Day-to-day management
- Use the enable/disable action as an on/off switch during launches or incidents.
- Watch the Daily cap column — once a widget hits its cap, visitors cannot start new sessions until the next day.
- Edit the widget at any time to change branding, domains, or limits; changes apply without touching the snippet on your site.